
.JPG)
The Logo:
I created this Logo in Photoshop, for a project.("Life by the Sea" is a fake non-profit that cleans beaches and protects marine life)

Needed:
- Wine Glass - (4 for $5 Walmart) *You can use anything that's glass*
- X-acto Knife
- Contact Paper - (Large roll for $6 Walmart)
- Armour Etching Cream - (Small bottle for $13 Michaels)
The Template:

I used contact paper and an X-acto knife to cut out the logo. To do this, I printed the logo in the appropriate size, and carefully cut through the printed page, and contact paper on top of a cutting pad.
Text was very difficult to create a template for, because the space in the center of some letters would have to be manually placed onto the glass (example: "e" and "a"), not to mention it is very thin at times.
I also used a hole puncher to create bubbles going up the side of the glass.

Placement:
Contact paper is like a gigantic sticker. I carefully detached the backing, and placed it onto a clean wine glass. It was imperative that each border was stuck tight to the glass to prevent the cream from etching beyond the template.

Etching:
Armour Etching Cream was very simple to use. I simply painted it on with a standard paint brush, let it sit for 60 seconds, and rinsed it lightly with warm water in the sink. This is not a frost paint layer, this solution is actually interacting with the glass. (Once the glass is dried, you will see the etching much clearer) It begins to work instantly, so there is no way to fix a mistake.


*Notice: Etching cream is highly dangerous and children should never be near it. Take precautions. Use gloves, protective eyewear, and an apron or old clothes. The cream is highly corrosive and can burn your skin.
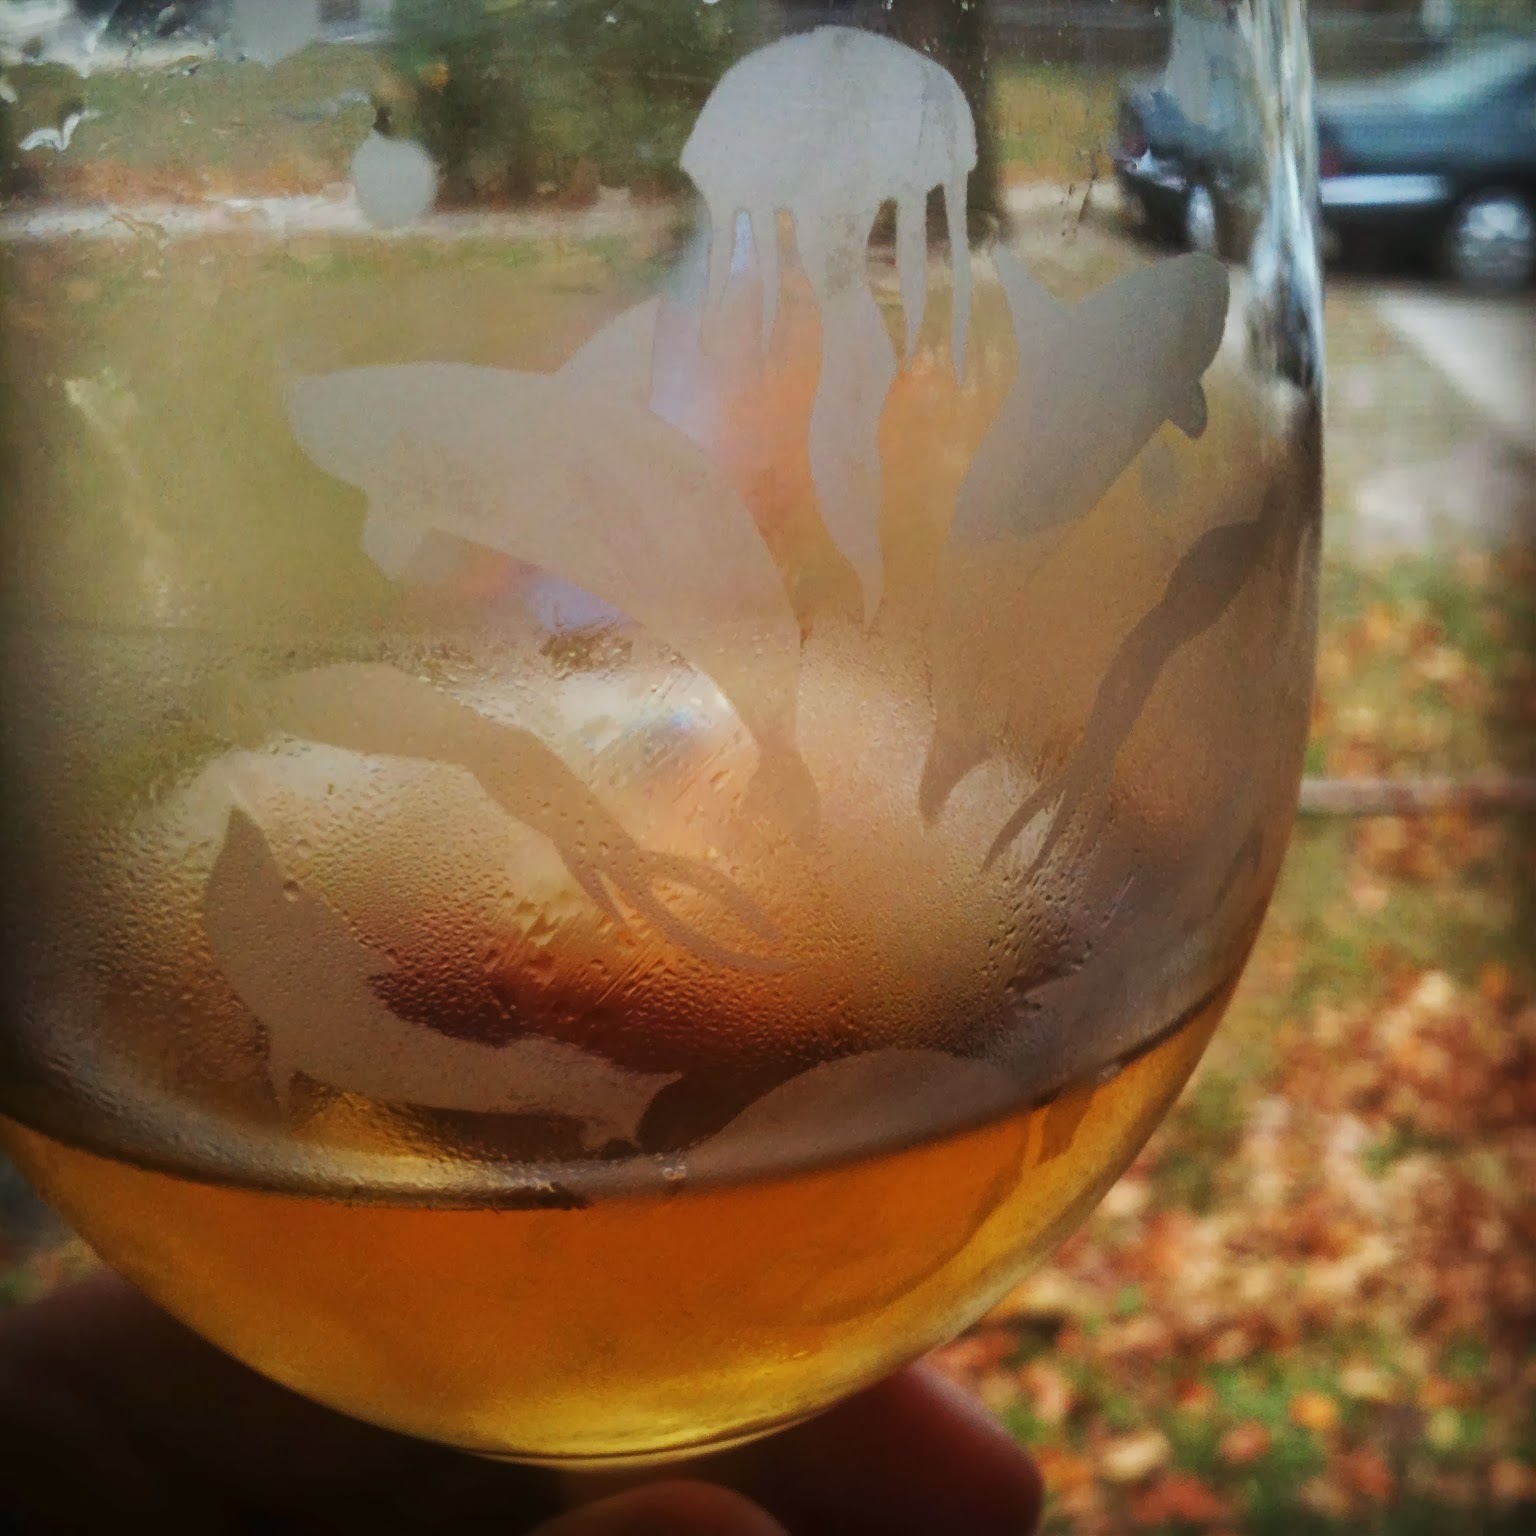
My Results:
Hints:
- Because my design was very intricate and had delicate edges, the cream did expand the perimeters in some instances. I suggest using a slightly simpler design, and a flatter glass. (Wine glasses curve from top to bottom making it difficult to place the stencil correctly).
- I also tried frosting majority of the glass and having only parts clear, but it didn't come out the way I was hoping. I think it would be fine with several rounds of etching, but placing an identical stencil in the exact spot again would be difficult. It left brush strokes.
- Definitely use the cream generously. You want a thick layer to cover it well.
I hope you are inspired to give this a try. It really looks professional, and will last forever.
Enjoy!
-Moni
You gave me a few ideas for Christmas presents :D
ReplyDeleteHaha... I'm so glad, Andres. If you do it, send me a picture! Good luck =)
ReplyDeleteThis is so cool! After reading this I think I might try it out. I work at a paint your own pottery studio and we actually work with glass a lot. It's sort of an extra thing we do on the side. I think I might bring this idea in and see if anyone can do it with me!
ReplyDelete